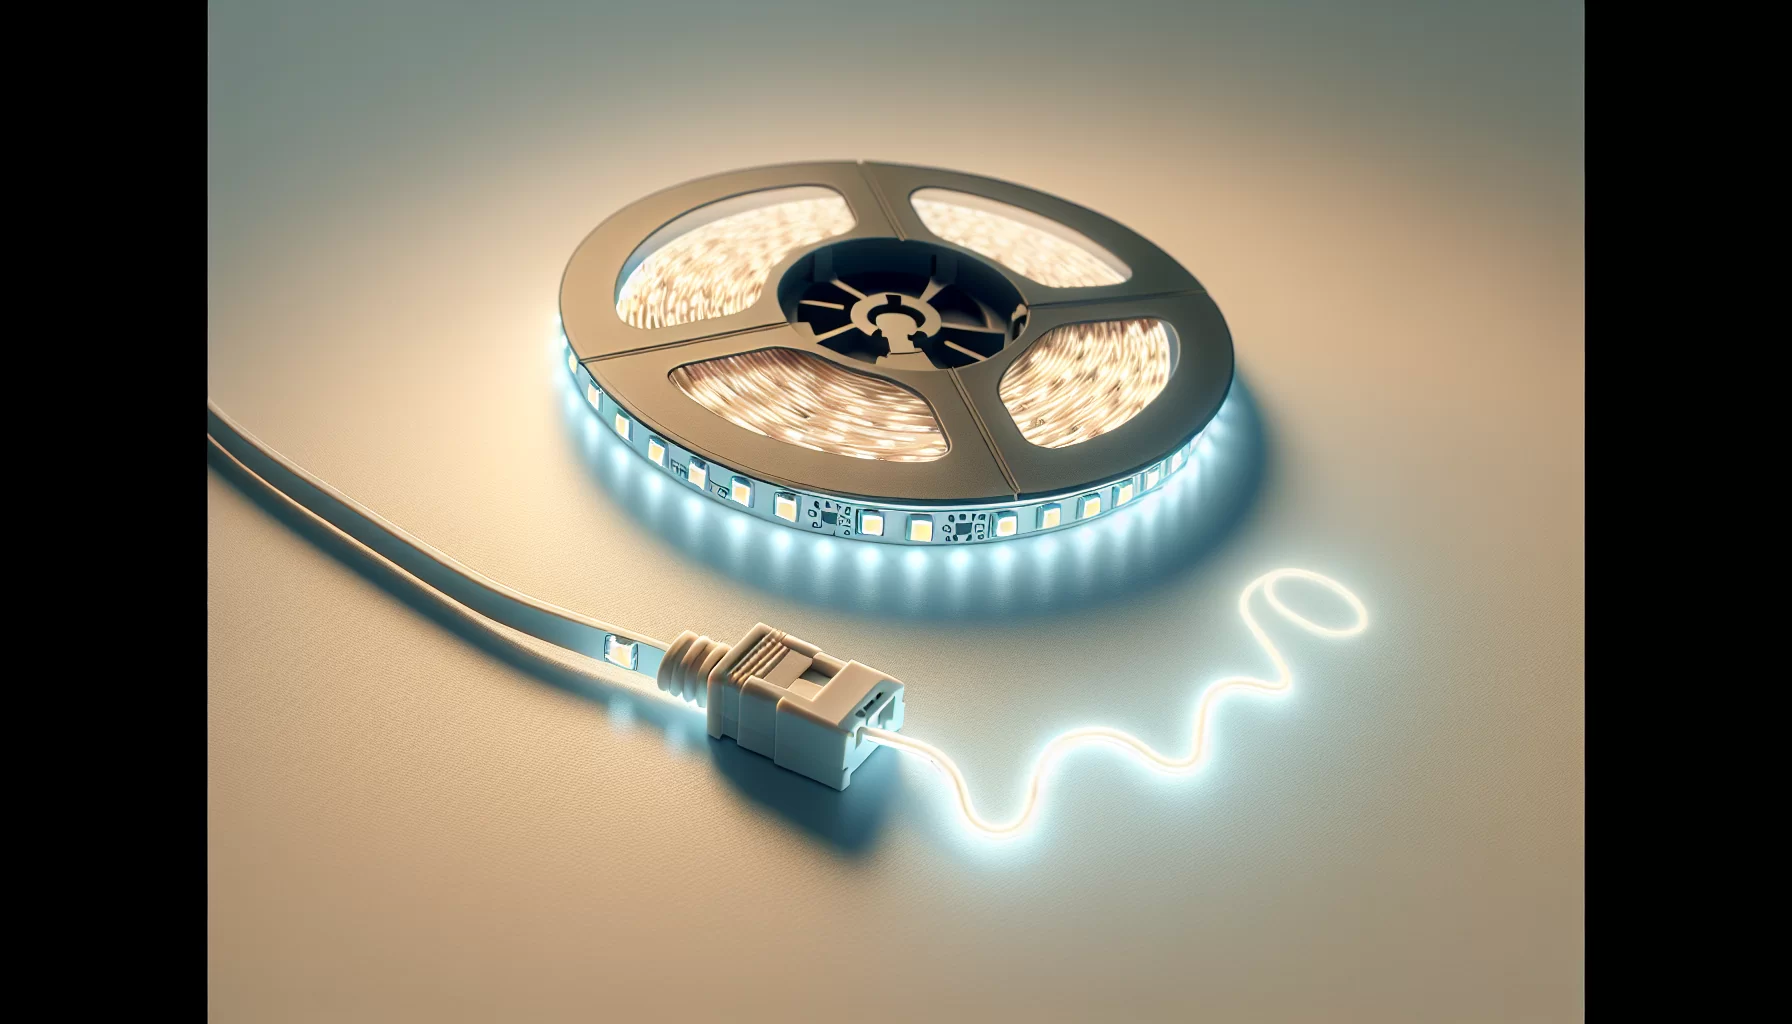
LED strip lights a favorite among homeowners, offer a versatile and customizable approach to sprucing up home decor. The beauty of these lights lies in their flexibility. You can install them under cabinets, behind your TV, or even around your artwork, creating a fantastic ambiance. But how to get it right? This ultimate guide on how to install LED strip lights provides straightforward and comprehensive steps on how to install led strip lights quickly and easily!
Key Takeaways
The correct selection of LED strip lights is crucial and must be based on user needs, considering factors such as brightness level, color options, IP ratings for water and dust resistance, and the choice between RGB or single-color strips.
Before installation, it’s essential to gather all materials, plan the layout according to the lighting effect desired, and prepare the installation area by cleaning it properly for optimal LED adhesive attachment.
For a durable setup, apply the LED strip lights starting near the power source, press firmly for proper adhesion, and secure the strips with additional fixings like clips every 1 to 2 feet. Ensure the power supply matches the LED strips’ voltage needs, and use a controller for customization.
- Besen supply different type of led strip light with high quality within 5 years werrenty.
Choosing the Right LED Strip Lights

When it comes to installing LED strip lights, the most important step is understanding what your needs are and selecting the right specifications. This may be challenging due to all of the options available, but there are some key points you should consider before making a purchase. These include brightness level, color selection, IP rating (for water resistance), as well as whether RGB or single-color LEDs best meet your goals.
Here to know why you should choose led strip light for your home?
The type of lighting chosen can drastically affect atmosphere in any area from residential living space to outdoor setups so ensure that you select what works for each unique environment accordingly based on these factors mentioned earlier. For example, an ideal pick for bathrooms could have higher IP ratings while those aiming at more relaxed settings might prefer RGB option over monochrome when installing led light strips first. Regardless, make sure you research thoroughly ahead and understand how to install led light strips prior to installation. Follow manufacturer’s instructions carefully when appropriate fixtures have been purchased ensuring safe use by user with long term satisfaction guaranteed thereafter.
Assessing Brightness & Color Options
When selecting LED strip lights for a given room, their size and the intended use are two factors to keep in mind. For instance, you can usually achieve great accent or decorative lighting with 1 foot long 3.5 watt strips that produce around 450 lumens of brightness – but always remember that brighter LED’s draw more power than dimmer ones do! Strip lights come in many colors from cool blues to energizing reds so it’s easy to customize atmosphere based on what suits your space best. This could be calming greens for an office area or warm yellows illuminating your livingroom. The potential applications of these flexible light sources are near limitless when used creatively!
Understanding IP Ratings for Different Environments
When setting up your LED strip lights, it is important to consider the Ingress Protection (IP) rating of your product. This refers to its ability to defend against dust and water, for instance an IP65 will repel low pressure sprays from multiple directions which makes them suitable for outdoors.
The installation area should provide guidance on what level of protection you need: if in a wetroom or bathroom, aim for at least 44 while outdoor setups are better suited with 65 as they can withstand strong jets without letting moisture penetrate inside the strips’ components.
Selecting Between RGB or Single-Color LED Strips
When deciding on the lighting setup you want, it is important to consider whether RGB or single-color LED strips are most suitable. With an RGB strip, colors can be varied by blending red, green and blue light, giving a virtually endless array of hues for personalization possibilities. To maximize customization capability, even customization is possible. Though might require acquiring an additional controller as well which would allow control over individual lights plus some predefined modes too. Single-color strips lack these features. They still offer great illumination options that may fit your needs just fine without needing extra equipment such as controllers in order to work with them effectively.
Preparing for Installation
Before you start installing your LED strip lights, make sure to do a test run of the product. This will ensure that everything is in proper working condition and ready for installation. After that it’s time to measure up – be as precise as possible while getting exact measurements of where the strips are going so they can fit perfectly in place!
After taking into account all needed materials and measuring out the area accordingly, installing light strips becomes much simpler. With careful planning comes smooth execution – if things are laid out well before starting work then any potential issues won’t crop up along with an easier overall process being achieved!
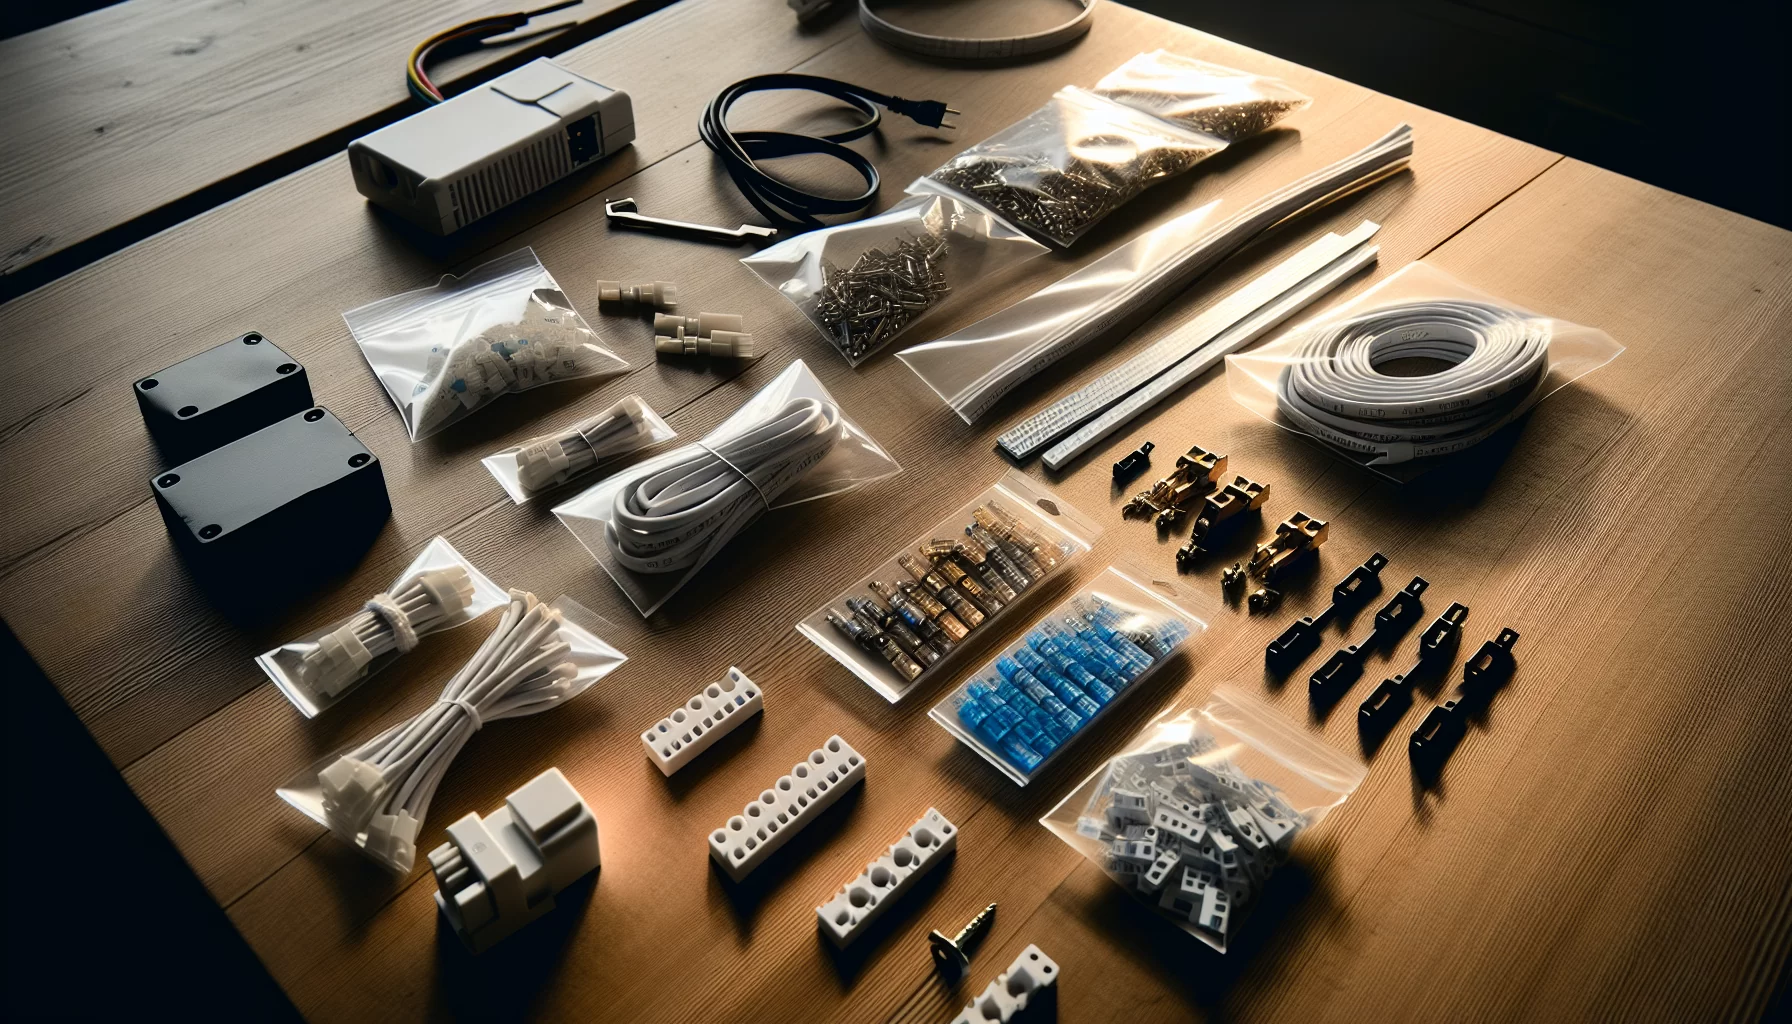
Gathering Your Materials
Before proceeding with the installation, it is important to make sure you have all the necessary materials on hand. These items may include a measuring tape, scissors and wet cloth for cleaning purposes. Depending on if mounted onto a ceiling, an additional ladder will be required. When thinking about power supply requirements, don’t forget to factor in multiplying your total wattage by 1.2 so as not to overload LED strip lights – they should only use 80% of maximum capacity which helps ensure optimal performance and energy efficiency from these strips lighting solutions.
Planning Your Layout
It is important to plan your layout carefully when working with LED strip lights. You could consider lining the margins of the ceiling for soft, indirect lighting or attaching them along walls and behind furniture like bedside background walls and under beds as alternative options that create their own effects. Remember: be sure to provide proper insulation, attach securely using undamaged wires, and calculate accurately how long each led strip needs to be in order to obtain desired results while also keeping longevity in mind!
Attaching Your LED Strip Lights
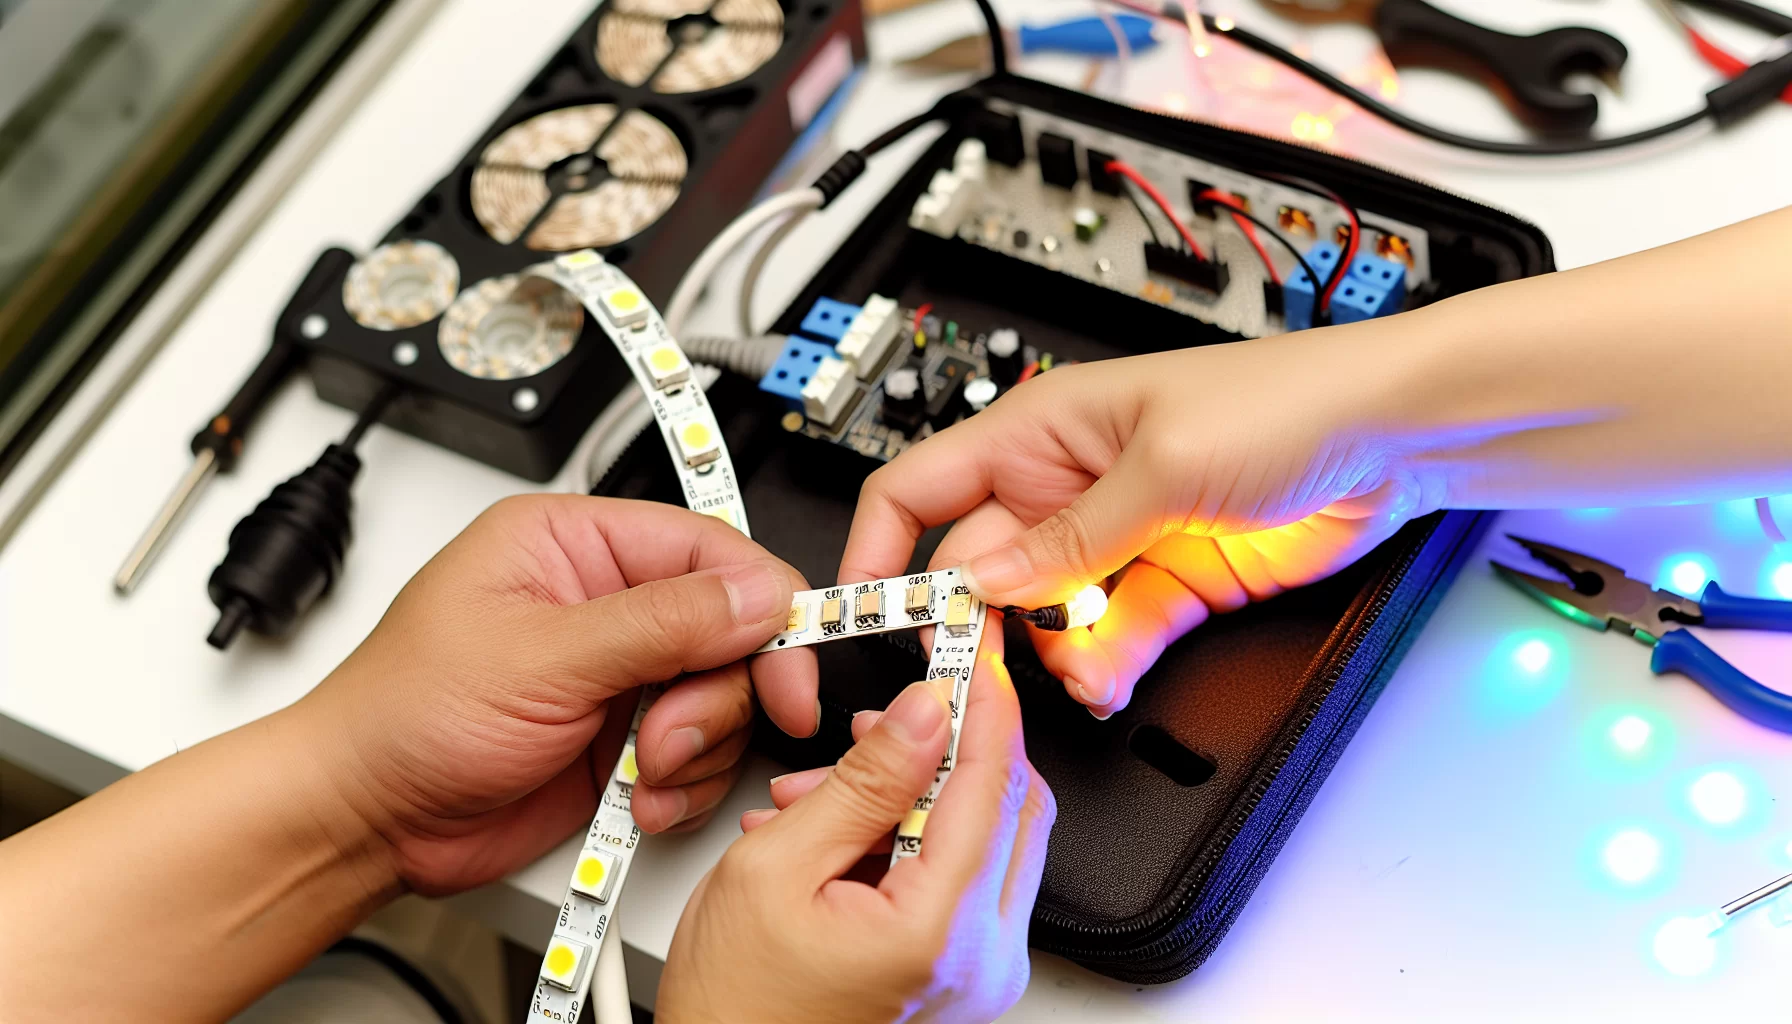
Once you are all prepared for the installation, it is time to adhere your LED strip lights to the selected surface. This includes cleaning and drying off this area prior to laying down these light strips plus extra security if necessary.
To ensure that there is a successful adhesion with the LED strip on its destination spot, please follow these steps: firstly clean thoroughly before placing in any strips then start by connecting them near their power source. Gradually apply pressure as you carry out placement along the strip connector in pre-planned layout.
By keeping up with these instructions when dealing with installing LED Strip Lights onto surfaces will help guarantee they remain securely fixed at all times without fail or error.

Cleaning the Surface
When it comes to a successful adhesion, preparing the target surface beforehand by cleaning is an essential step for installing LED strip lights. To do this correctly and get rid of dust, grease or any other debris that could impede adhesive from sticking properly on the said surface. Soapy water with mild soap solution, rubbing alcohol and distilled water can be used as effective cleansing agents. For best results, use soft microfiber cloths which will aid in preventing harm to the LED components during handling them without causing damage. When finished, ensure everything is dry before applying the mentioned strips onto your desired location.

Applying the Light Strip
Begin the setup process close to a power outlet. Remove 6-18 inches of adhesive backing, and firmly push it into place along the planned design for installation. All across this area repeat until full coverage has been achieved on all relevant surfaces with no additional tape or other fixings blocking visibility from LED strip lights which could be held in place using clips or brackets if necessary. It’s important not to cover up any part of your powered LED strips as that may obstruct illumination coming through them while also adding extra support around areas where they have been placed down onto different materials.

Securing the Strip with Additional Fixings
For optimal durability and stability, it’s recommended to secure your LED strip lights with additional fixings such as double-sided adhesive tape or clips every 1 to 2 feet along the entire length of the light. This prevents sagging and ensures that even if you have mounted them on a textured surface, they are held securely in place over time thanks to an improved adhesion from using these extra fixtures.
By making sure all areas where you attach led strips get this extra security measure will ensure reliability and longevity for your lighting installation project!

Powering Your LED Strip Lights
Connecting your LED strip lights to a power supply and using remote control or controllers for customization brings the lighting system to life. It is important not to connect led light strips but to directly connect them into 110V/220V outlets as they need an appropriate voltage such as 12 volts via their own dedicated driver or power supply. This enables you to modify brightness, color, and other effects of these strip lights that are connected securely with the right kind of electrical wiring setup.

Connecting to a Power Supply
When it comes to powering your lights, you have to make sure that the power supply matches with what is required by the LED strip for optimal performance. If not, this can create a hazardous fire risk and damage your lighting strips. To ensure consistent distribution of energy across all LEDs when connecting light strips, run an additional set of wires from one strip to end point where another strip begins in parallel fashion. This will prevent issues such as flickering or patchy illumination due to unequal spread of power along each connected led strip.
Using Remote Control and Controllers
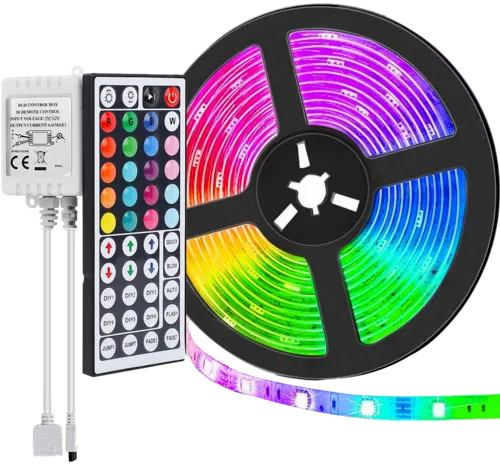
To create a desired atmosphere, you can use LED strip lights connected to power supply and controlled by remote control or dedicated controllers. These offer great customization options such as RGB+W, RGB+CCT, single color controller, etc., so that one could adjust brightness levels according to their preference. The receiver should be synced with the remote for convenience when controlling these LED strips from your couch. This makes it not just functional but also comfortable while using them in lighting applications.
Besen apply IR remote, Goolge/Alex bluetooth controller, Wifi controller, Music controller etc. All kind remote controller supply, please contact us

Customizing and Connecting Multiple LED Strips
LED light strips are a great way to create personalized lighting designs, as you can cut and connect them at whatever length or pattern desired. With the right tools, it’s easy to craft an enchanting display of illumination that perfectly matches your style needs.
Different type of Strip lights offer immense flexibility in customizing any space. From simple straight lines up to complex patterns – these LED strip options have all bases covered when it comes to personalization! With LEDs providing quality yet economical lighting solutions, there is no better choice for giving any setting its own unique flair of shine.
Cutting and Linking Strips at Desired Length
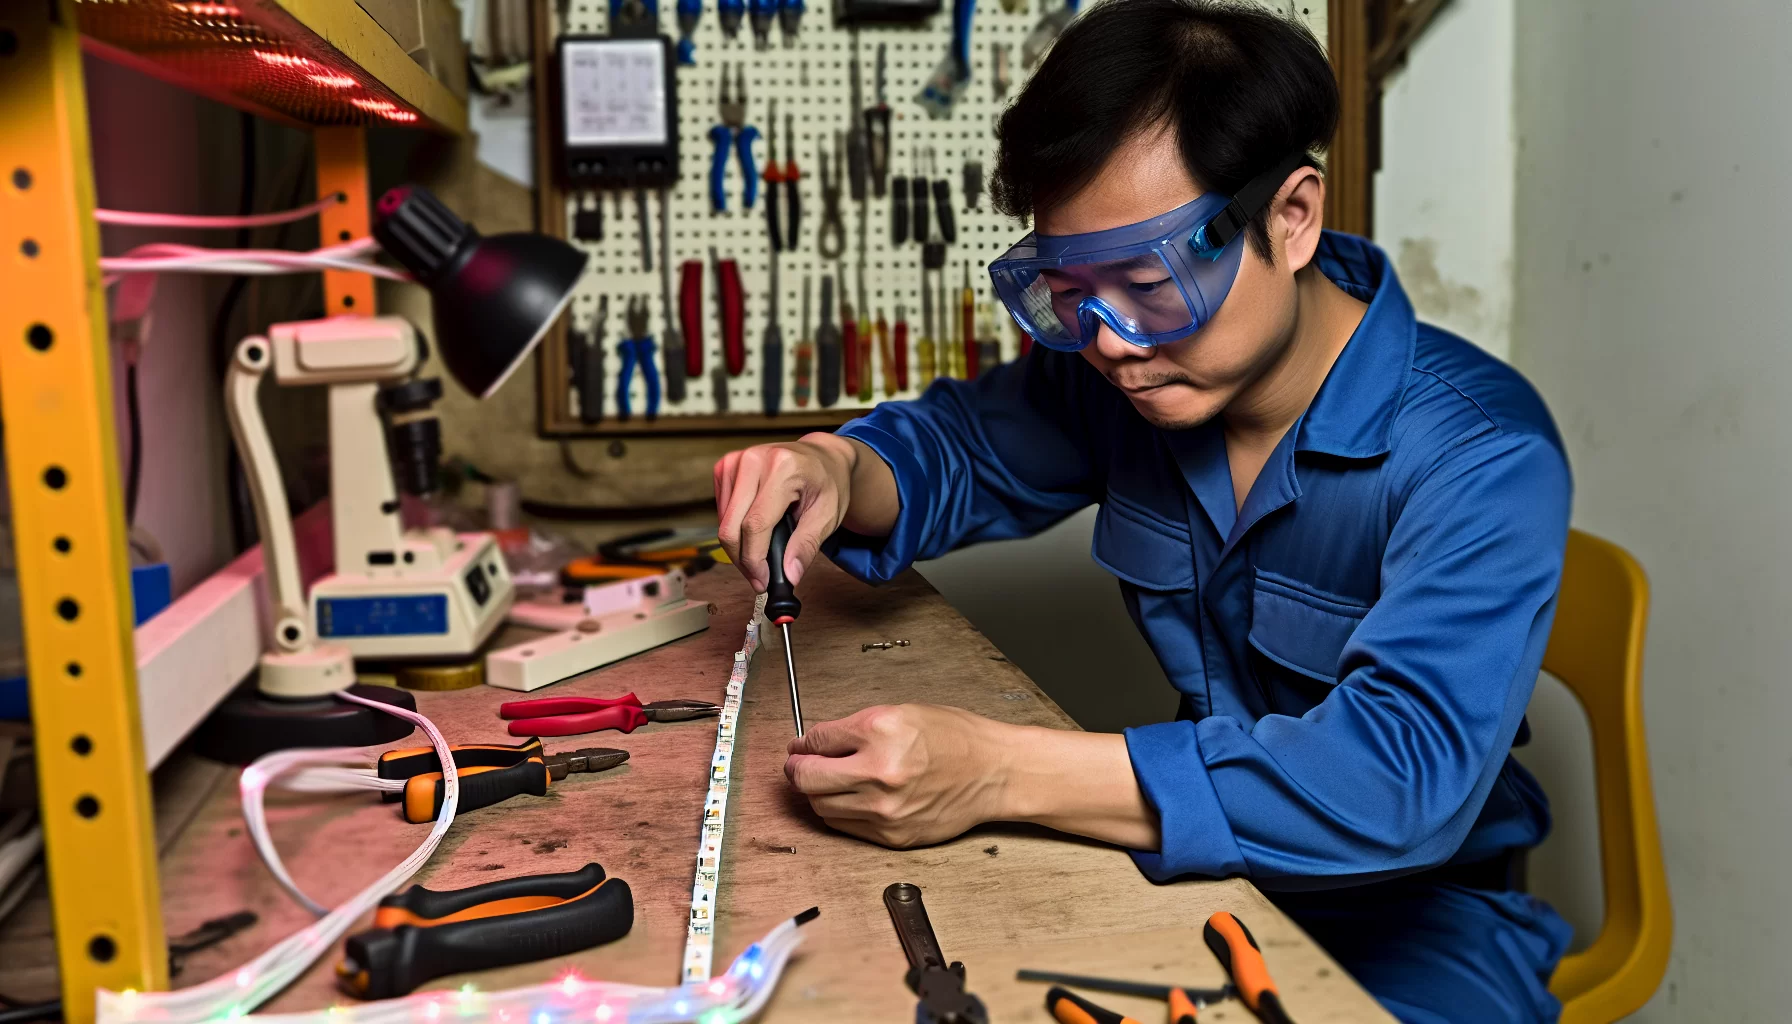
For an accurate result and a sleek finish, LED strip lights can be cut to the necessary length. When cutting these strips it is essential that you use sharp scissors or a utility knife along with measuring a tape measure/ruler for accuracy. It’s important to keep in mind not to cut anywhere except at designated points since this might disrupt its performance negatively.
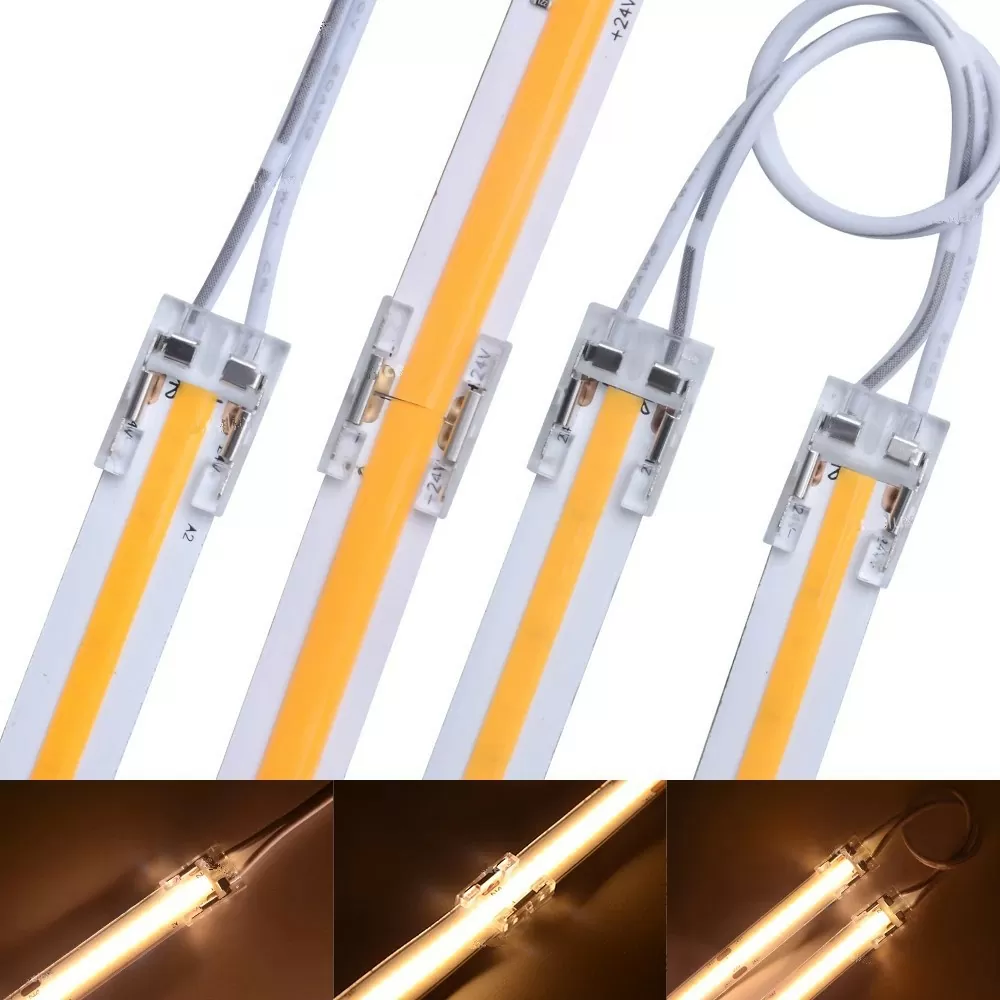
Once done with cutting, linking them together could allow creativity. Such as corner turns when fixing on walls or ceilings, etc., Connecting multiple LED strips can also create longer runs of lighting systems which serve your purpose better! For connector kits suitable for joining LEDs securely one must look out accordingly for specific ones meant only for pairs of same typeLED strip lights.
Arranging Strips in Unique Patterns
One can easily create unique designs with LED strip lights that make for beautiful visual displays. Using clips and connectors, they may be positioned in various shapes. From a hexagonal or honeycomb pattern on the ceiling to artistically illuminated works of art, the possibilities are endless! To route these strips around corners, there are three main methods: using jumper connectors, back-to-back 90 degree pin connector clips or pinch flex between LEDs and secure it with superglue. No matter your desired lighting design’s look, you will have all the creative freedom here to express yourself stylishly through light.
Troubleshooting Common Installation Issues
When installing LED strip lights, even when taking all the necessary precautions to ensure success, one might still experience issues like flickering or uneven lighting across all the different led strips used. Knowing how to effectively troubleshoot these problems can not only save you effort, but also assure that your led strips perform optimally.
Addressing Flickering LED Strips
LED strip lights can sometimes flicker, which is caused by several issues such as an overloaded driver or voltage drop. To fix this problem, it’s best to minimize the length of your strips and add in a separate power source for stability. Make sure all connections are securely fastened and that the dimming protocol used is compatible with LED strips too. Taking these precautions should help address any flickering experienced when using LED strip lights!
Ensuring Even Lighting Across All Strips
Achieving even strip lighting across connected LED lighting strips can be a challenge. This is often due to loose connections, too much power consumption or substandard light strips. To have uniform illumination amongst all the LEDs here are some tips:
First, work out how much total electrical current you need for all your lights and then pick one suitable source of energy that will provide enough output for them all. Measure accurately what length blue wire each area needs in order to cut the strip properly. Plus, use T-connectors to separate individual sets between other ones and clips join up multiple LED elements together easily when necessary.
These steps should guarantee consistent brightness among the various segments of lamping used throughout any space with an array of interconnected shining stars made from these kinds of dazzling diodes!
Summary
It’s easy and fun to bring a special touch of style and mood into your living area by installing LED strip lights. This guide provides helpful insight on the planning, selection, and installation process, simplifying it for anyone looking to transform their space with these impressive lighting strips! Don’t wait any longer – take charge of illuminating your home with eye-catching Led Strip Lights that perfectly reflect you.
Frequently Asked Questions
How do you hang LED strip lights on textured walls?
A: For textured walls, it’s recommended to use mounting clips or strong double-sided tape designed for rough surfaces. Make sure the surface is clean before application to ensure the best adhesion.
Can you connect cut LED strips without connectors?
A: Yes, you can solder the copper pads at the open end of the cut strips to bridge them together directly. Alternatively, use quick splice connectors for a solderless connection.
How do I connect a 7-meter LED light strip?
A: To connect a 7-meter LED strip, you may need to check the voltage drop over the length and use a suitable power supply. If the strip has connectors, simply connect multiple led strips to the power source. If it’s a reel without breaks, it may require cutting and connecting with connectors or soldering.
Can LED strip lights be wired in parallel?
A: Yes, wiring a single LED strip that lights in parallel helps to avoid voltage drop, especially over longer distances. Each strip gets the same voltage, ensuring even lighting across all strips.
Can LED strips light up a room?
A: Absolutely, LED strips can provide ample lighting for a room, especially when used in multiples or when high-lumen strips are selected.
Can you remove LED lights from your wall and reattach them?
A: This can be challenging as the adhesive might lose its strength. It’s better to use new adhesive pads or mounting clips when reattaching.
Do LED strip lights last for 10,000 hours?
A: Many LED strip lights are rated for well beyond 10,000 hours, some up to 50,000 hours, depending on the quality and usage.
How do you remove the adhesive from LED light strips?
A: To remove the adhesive, gently a clean cloth and heat it with a hairdryer to loosen its grip and peel it off slowly. For residue, use an adhesive remover or isopropyl alcohol.
Is a fuse necessary for LED light strips?
A: A fuse is not always required but it’s a good safety measure to protect against overcurrent, especially for larger installations.
How many LED strips can be connected together?
How can I stick an LED strip to the wall without using adhesive?
A: You can use mounting brackets or clips that screw into the wall to hold the strips in place without adhesive.
How do you sync LED strip lights with music?
A: Use LED strips with a built-in microphone or a separate controller designed to pick up audio and sync the light’s changes to the beat of the music.
How do you prevent LED strip lights from overheating?
A: Ensure proper ventilation around the strips and do not cover them with insulating materials. Also, avoid overloading the strips beyond their rated current.
How can you remove LED lights without damaging paint?
A: Heat the adhesive with a hairdryer to soften it and then slowly peel exposed adhesive off the strip at a 45-degree angle to minimize damage.
How do you reset an LED light to its factory settings?
A: Most LED lights can be reset by turning them on and off at specific intervals. Check the manual for the correct procedure for your particular model.
How do you prevent LED strips from falling off?
A: Ensure the surface is clean and dry before installation, use high-quality adhesive, and consider additional support like clips for a secure fit.
How to clean adhesive residue from LED strip lights?
A: Use a cloth dampened with adhesive remover or isopropyl alcohol to gently wipe away the residue.
Can one controller be used for multiple LED strips?
A: Yes, as long as the total amperage of the strips does not exceed the controller’s output capacity.
How can you waterproof LED lights?
A: Use silicone sealant on the ends and connections of waterproof-rated LED strips or purchase strips that are pre-coated for outdoor use.
Can LED strip lights be powered with batteries?
A: Yes, LED strips with a compatible voltage rating can be powered by batteries, ideal for portable power supplies or temporary setups.
Do LED strips need switches with built-in switches?
A: Not necessarily, but having a switch can provide convenience for turning the strips on or off without using a controller or unplugging them.
How do you attach LED strip lights to popcorn walls?
A: Use mounting clips that can be attached to the wall with nails or screws, which can grip the uneven surface
Do I need an electrician to install LED strip lights?
It is possible to do the project yourself, an electrician’s assistance could be beneficial in creating a more optimized space.
How do LED strip lights connect to power?
Connecting LED strip lights to a power supply can be done with the use of a 2.1mm male barrel plug and female counterpart that comes as part of full strips, while shorter lengths require screw-in terminal connectors instead. Regardless of length or type, this system guarantees an efficient way to provide your lights with sufficient energy for them to work properly.
Are LED strip lights easy to install?
Installing LED strip lights is a relatively easy process – one which can be completed quickly, resulting in an impressive illuminated space. All it takes is the appropriate strips and following some straightforward steps to have your desired area glowing with light.
How do I choose the right brightness for my LED strip lights?
In order to get the right brightness for your LED strip lights, you need to determine the necessary lumens by multiplying square footage of the space with its desired foot-candle level. This approach will ensure that all light requirements are met efficiently. When selecting suitable led strips and lighting solutions it is important to remember key terms such as ‘led strip’, ‘lights’ or even simply ‘strip’ – so that these give off just enough illumination in a room without being overwhelming.